Erasing the layer lines from 3D printed armor pieces
![]()
A quick tutorial on a method that I use to make layer lines dissappear on 3D prints
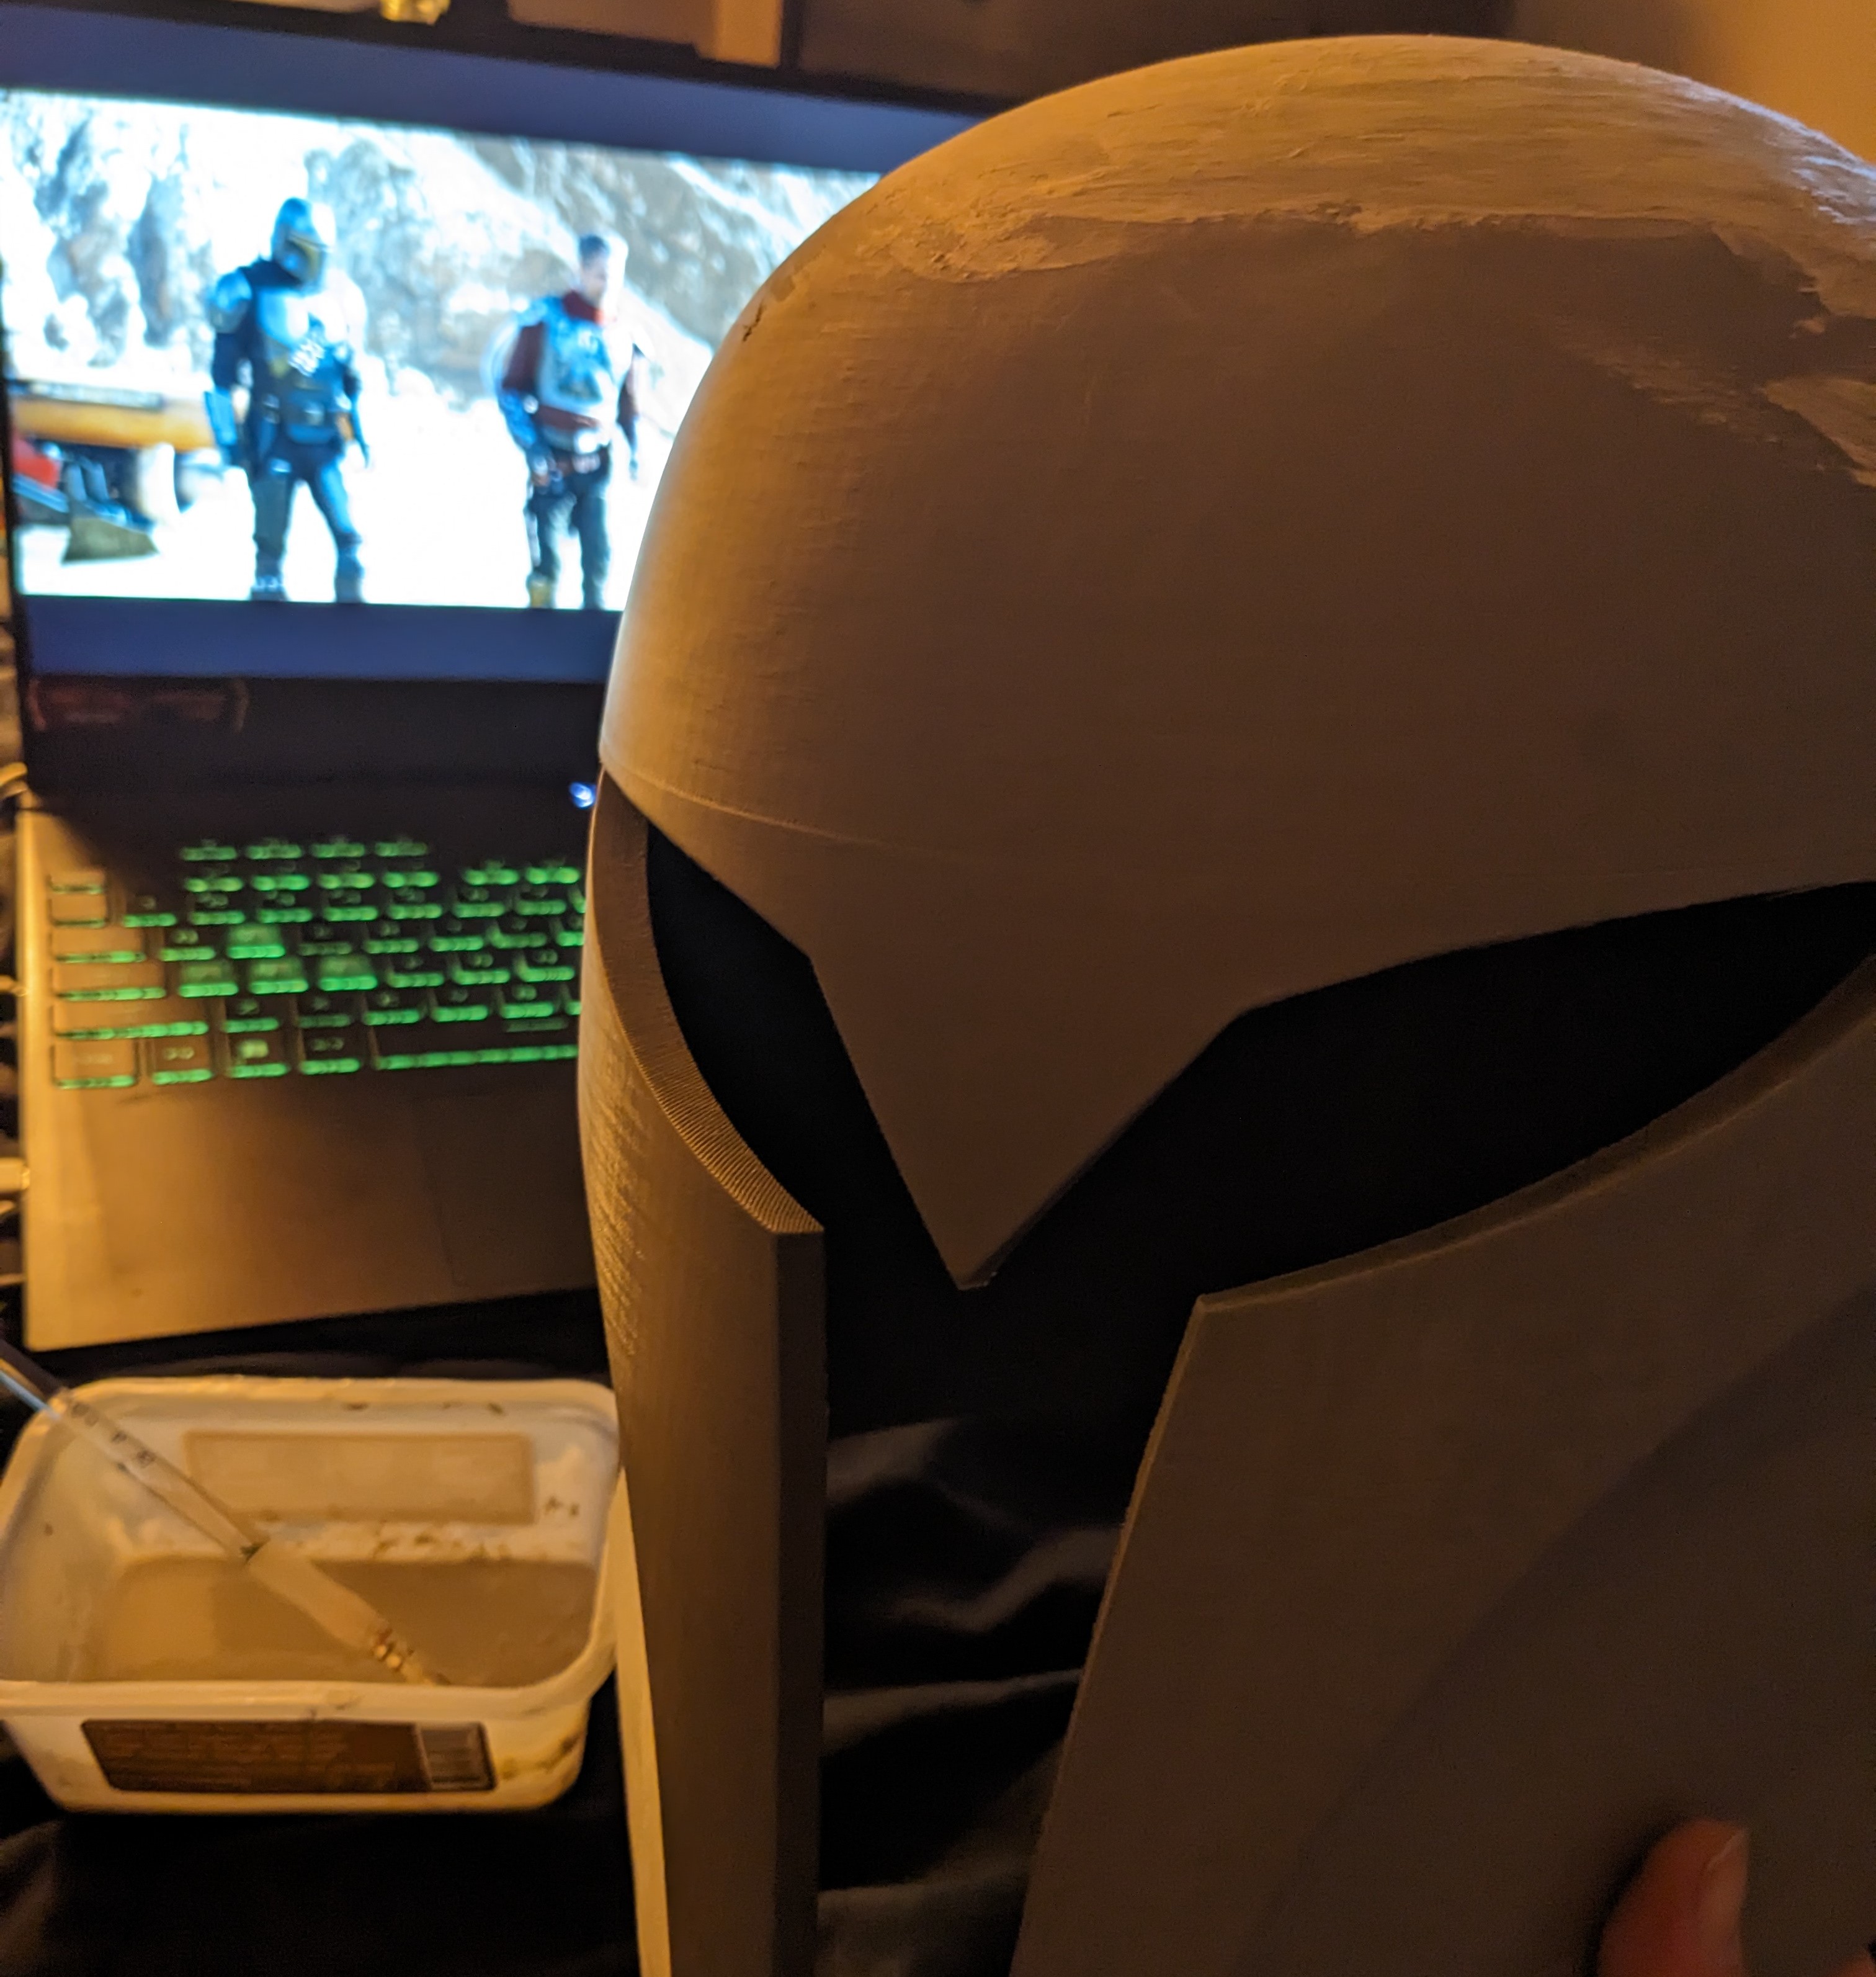
Look. I'm not a master armor crafter or anything. I like to buy 3D printed pieces from time to time, because honestly the intricacies of making things like gauntlets and helmets is beyond me. However, layer lines look bad and instantly make your armor look unrealistic. I've tried a few different methods for erasing/covering them, and I've had the best results so far with this method.
Here's what you'll need:
Step One: sand down the layer lines
Sand down your armor the best you can. If you have a sander, that's probably going to be your best option for larger portions, and a dremel is going to work great for getting into nooks and crannies. If you don't have either of these available, sanding with sandpaper, sanding blocks, and metal files works just fine! Just make sure not to sand too hard and change the shape of your armor, you just want to smooth down the lines as best you can. This part is pretty dusty, so be wearing cloths you don't bind getting covered in stuff, and probably a face mask.
Step Two: fill in layer lines
Next, mix up the wood filler and acetone. I use this brand of wood filler, and I mix a ration of 2 parts acetone and one part wood filler in an old container I can throw away afterwards. Brush it on over the layer lines and don't worry too much about thickness. You're going to sand this off later, so it's okay if its lumpy. You just want to make sure that your covering all the crevices."
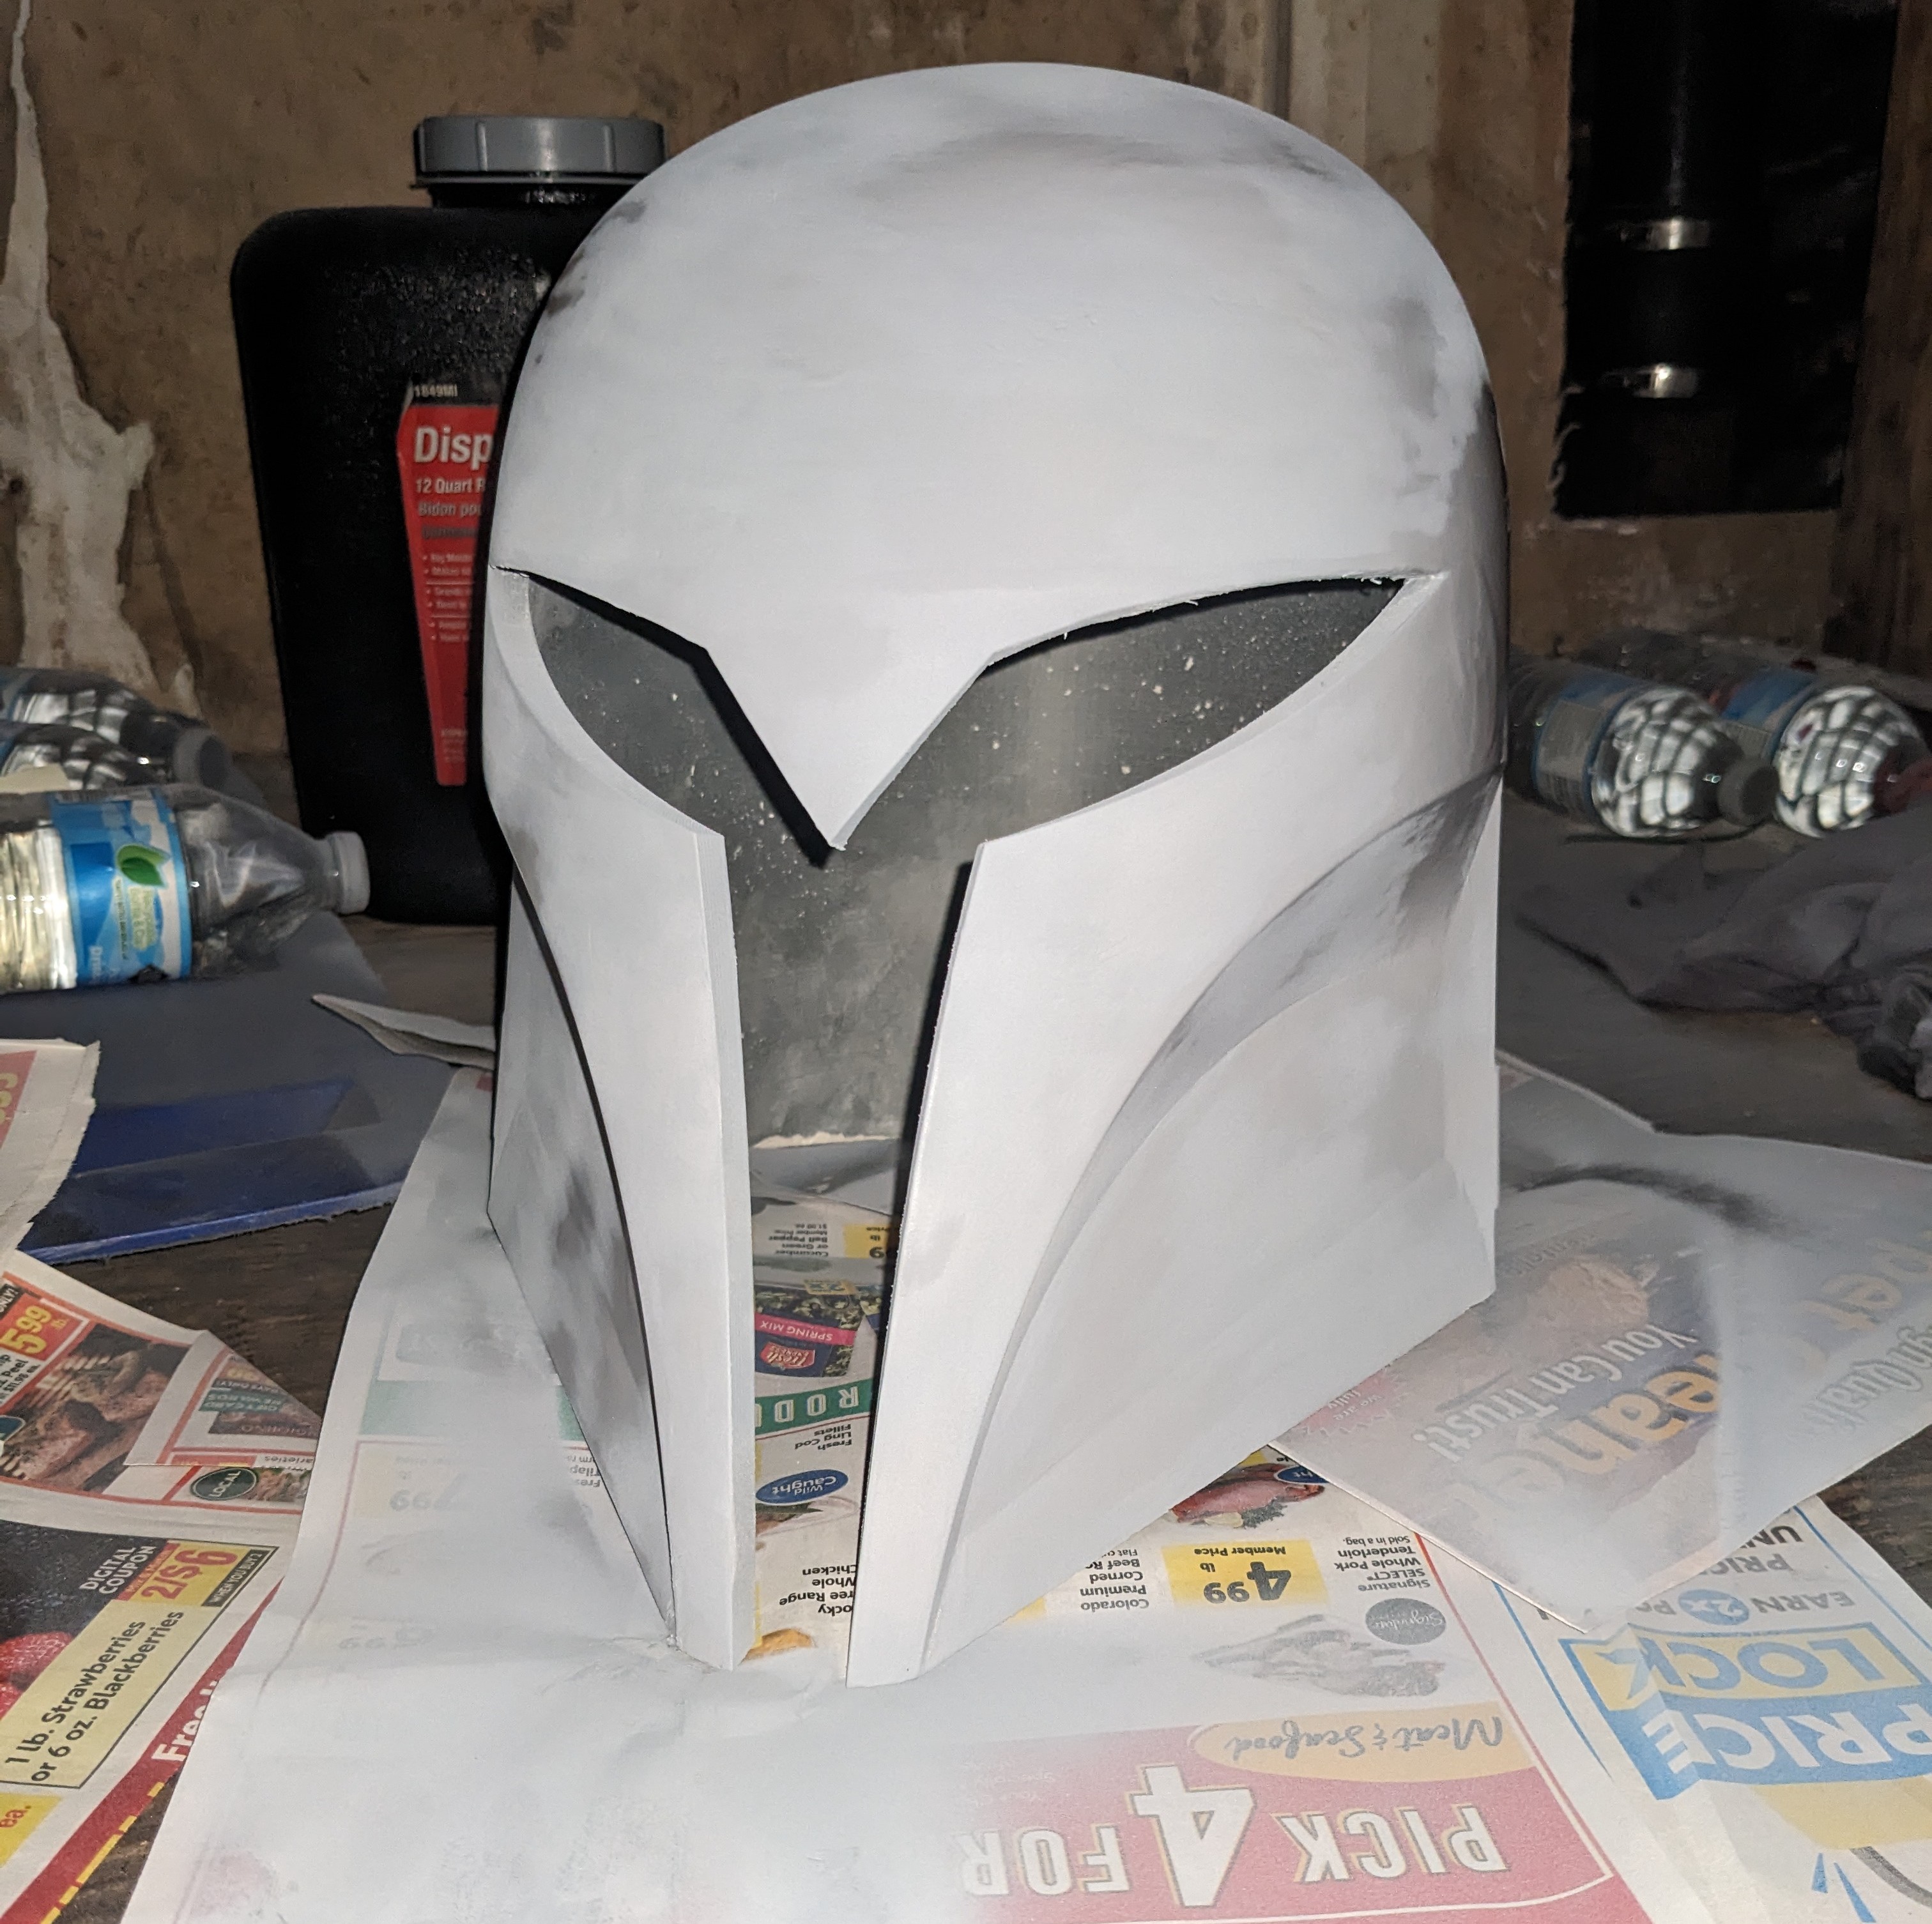
Here's an in-progress helmet with some wood filler mixture painted onto the top!
Step Three: sanding off the wood filler
This is the really messy part, so make sure you're covered and aren't breathing particles. Wait until the wood filler is totally dry, and then sand off the lumpiness! You should start to see a smooth texture and be able to feel it. If it looks like some areas didn't get enough wood filler to cover the lines, you may have to go over it again with the mixture, but you should be seeing eveness.
Step Four: primer!
Make sure you dist off your helmet really good, and then give it a nice even coat of automotive primer! You can usually find this for around six bucks at any hardware store. Don't spray from too close to your armor, or you'll get drips. It's better to do several thin layers than to coat it a bunch on one go and have a tacky, drippy piece of armor.
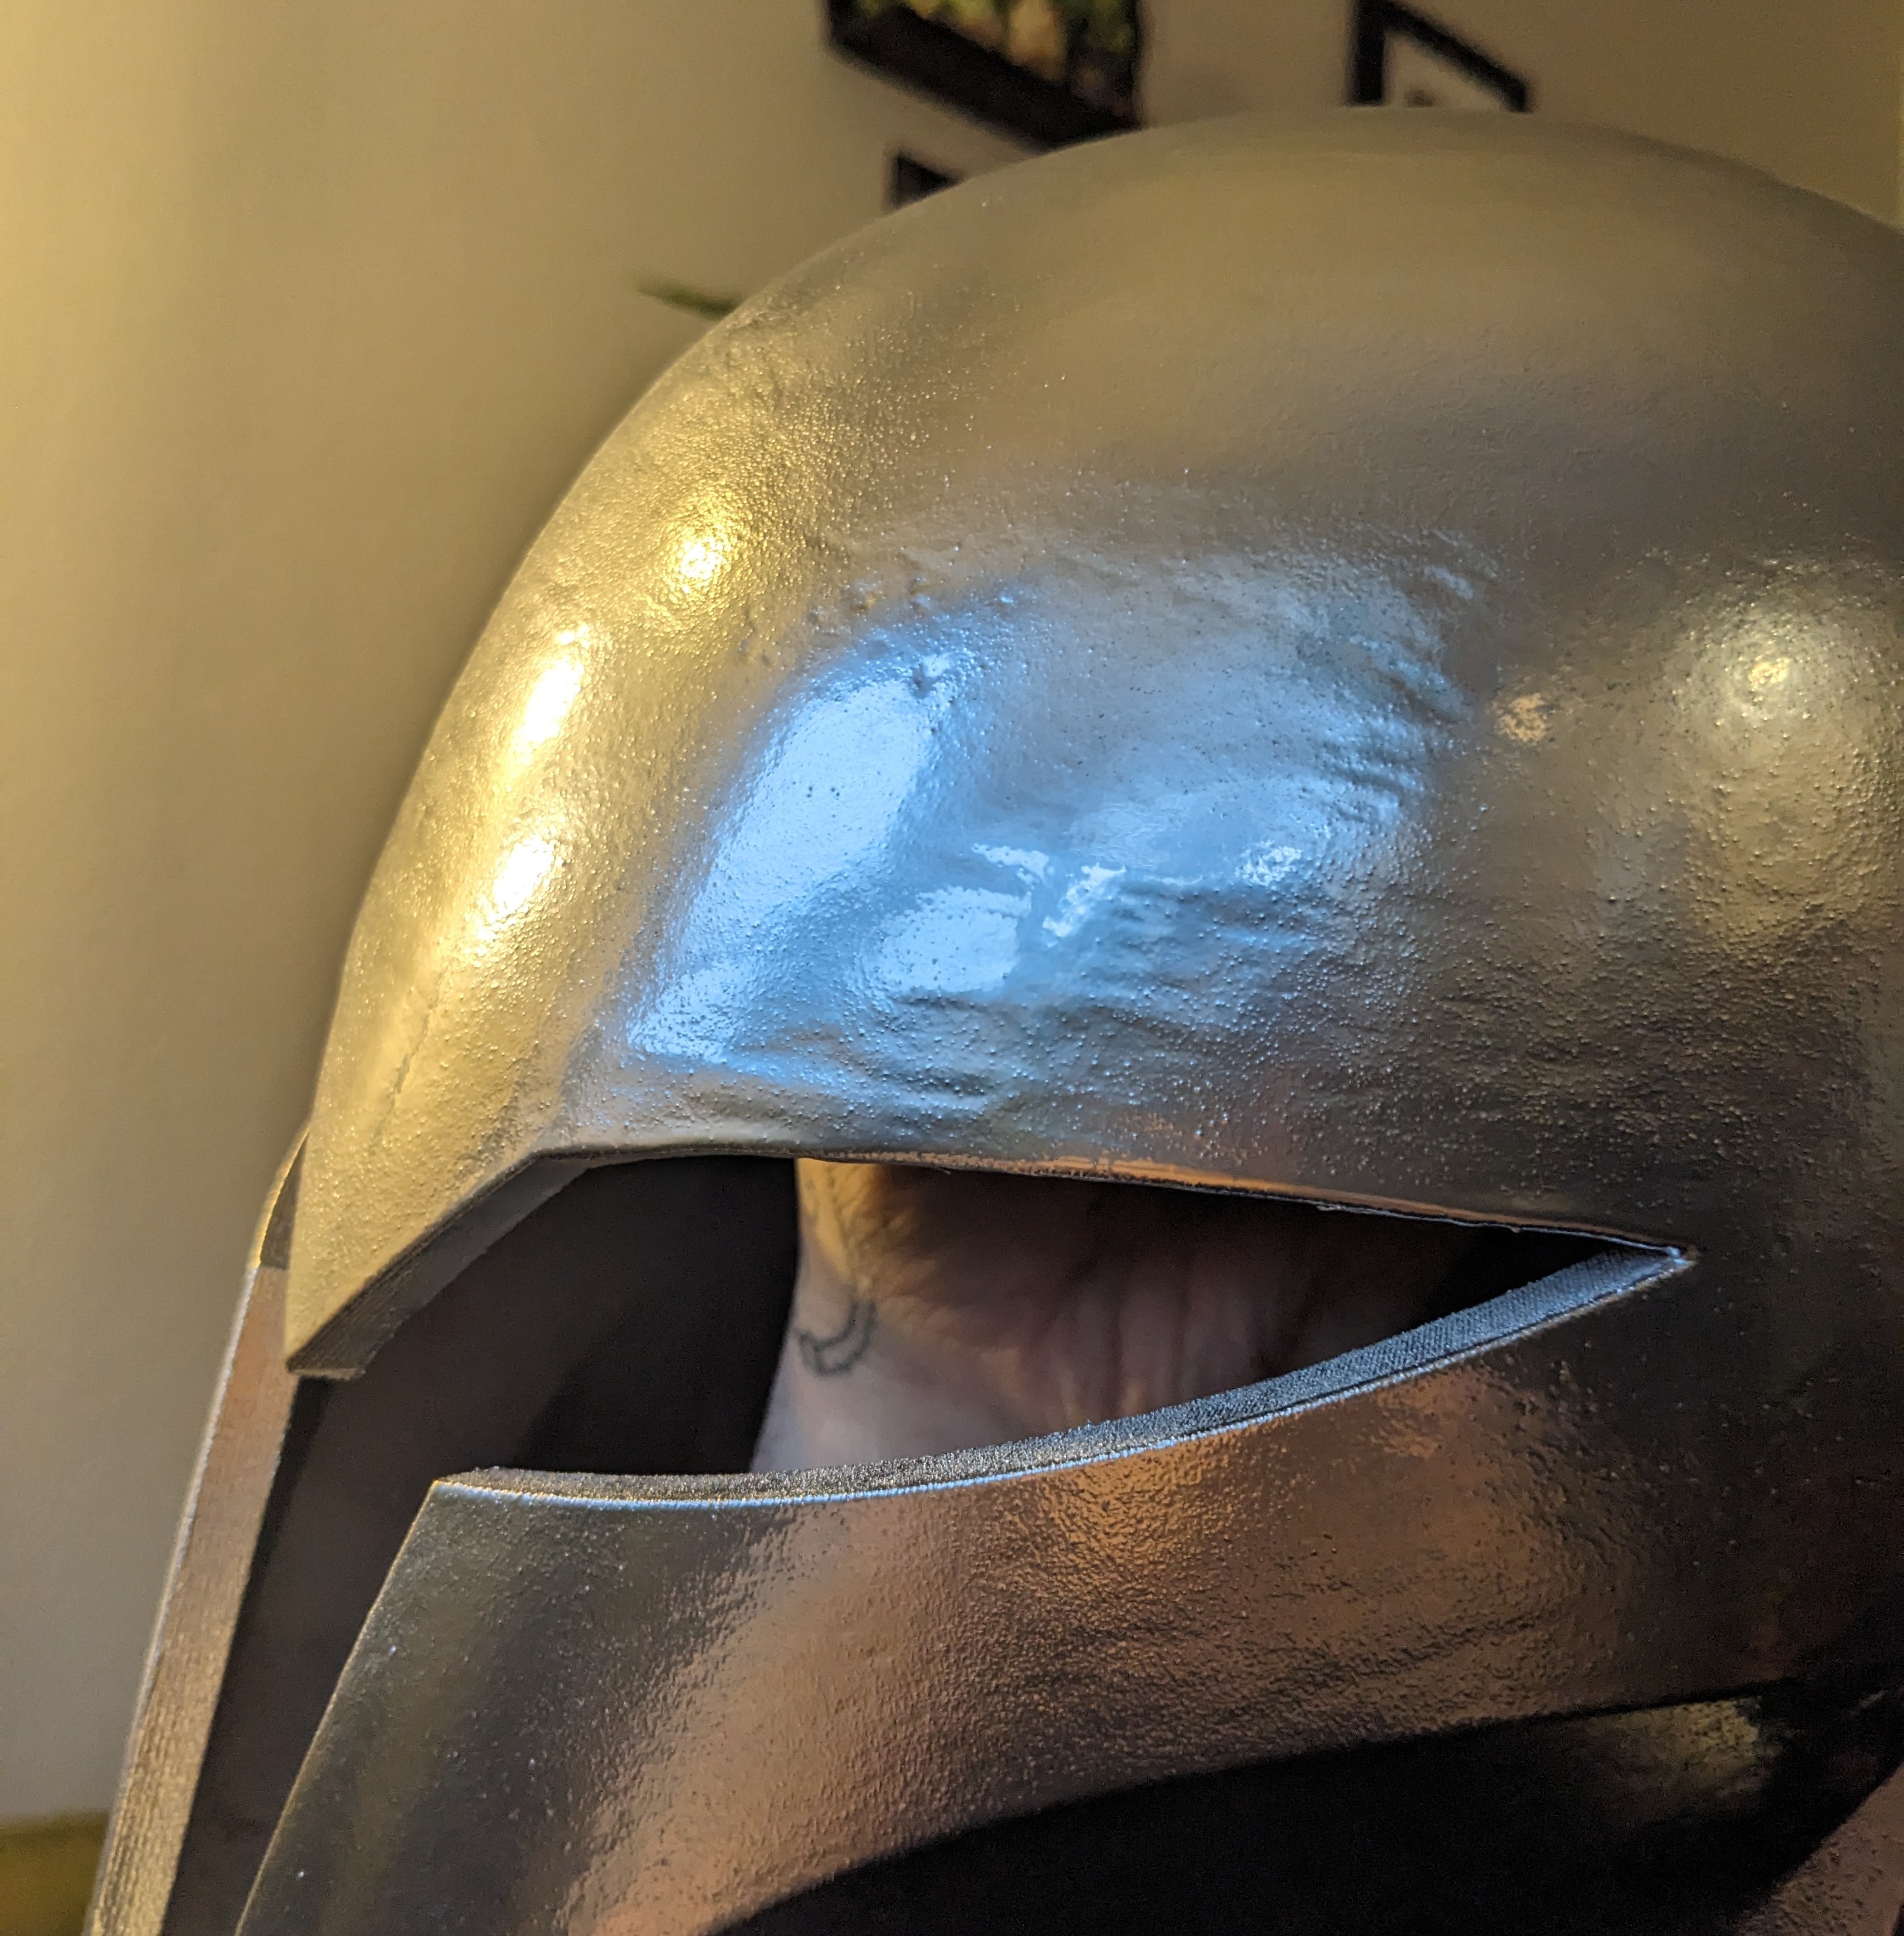
Helmet with a fresh coat of primer on it. You can see some spots where it is still drying, but it's relatively smooth and even! I did 3 more coats of primer to achieve the texture I wanted, letting the paint completely dry inbetween coats.
Step Five: paint!
You're ready for paint now. Here's how my 3D printed helmet looks after this treatment! (this one has some texture, but if your spend more time sanding you can get it even smoother. I like my armor to look a little bit rough, though.) I have more tutorials on painting, weathering, etc. if you are interested in those as well.
![]()
